How to Add Text on a Digital Background on Photoshop

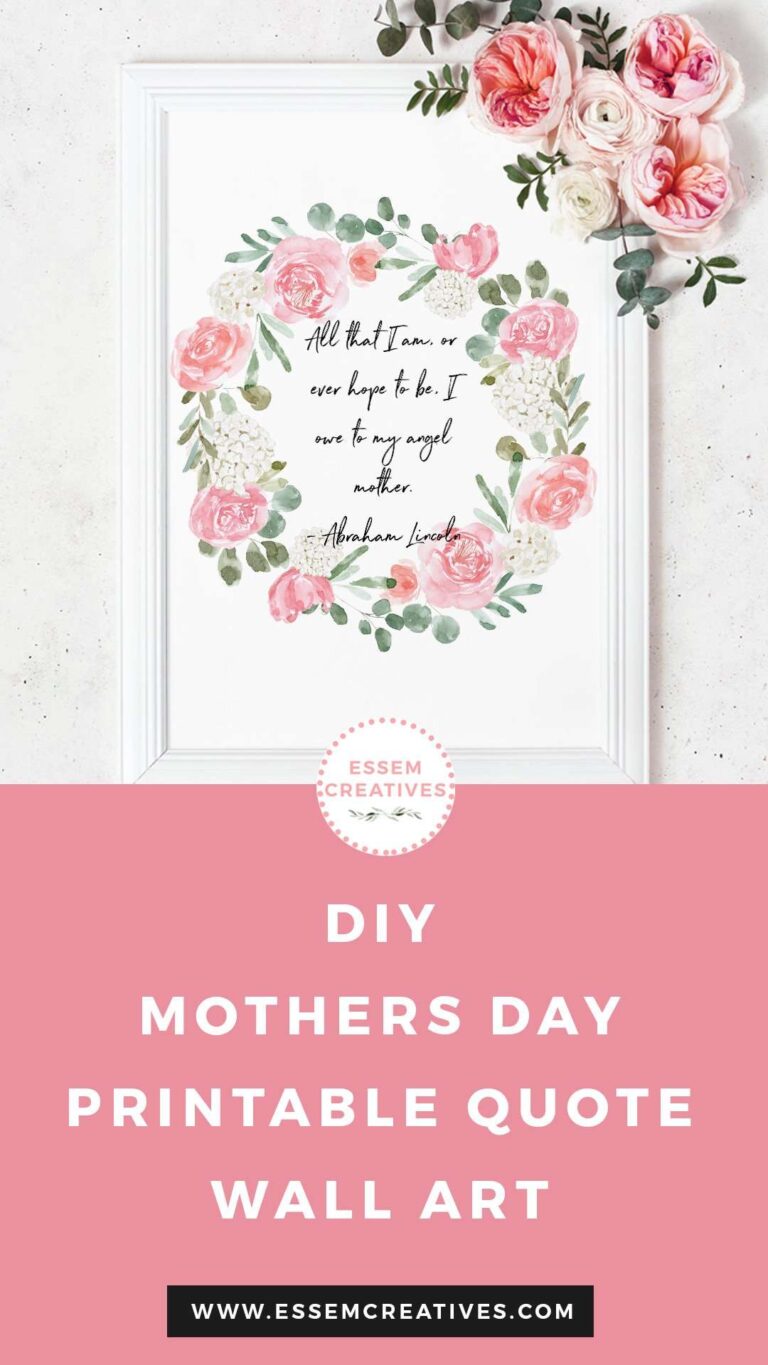
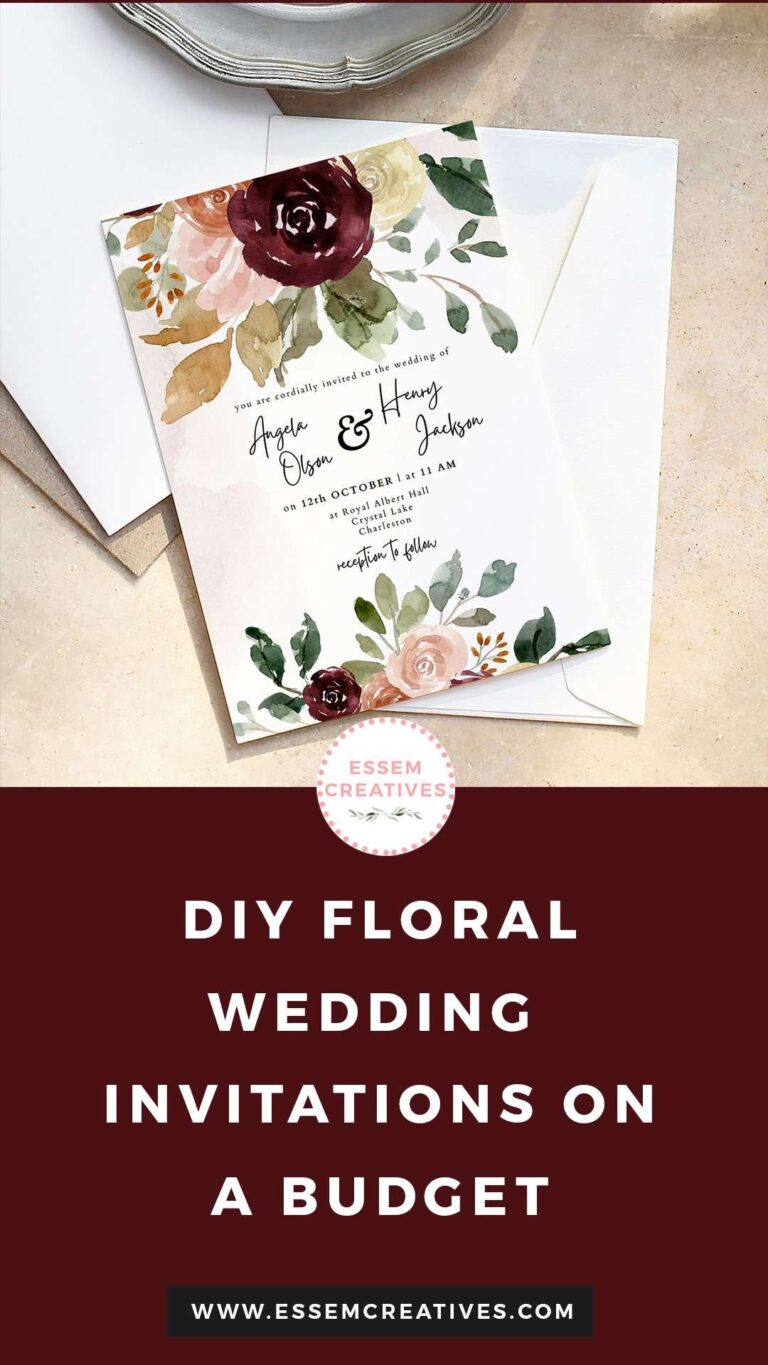
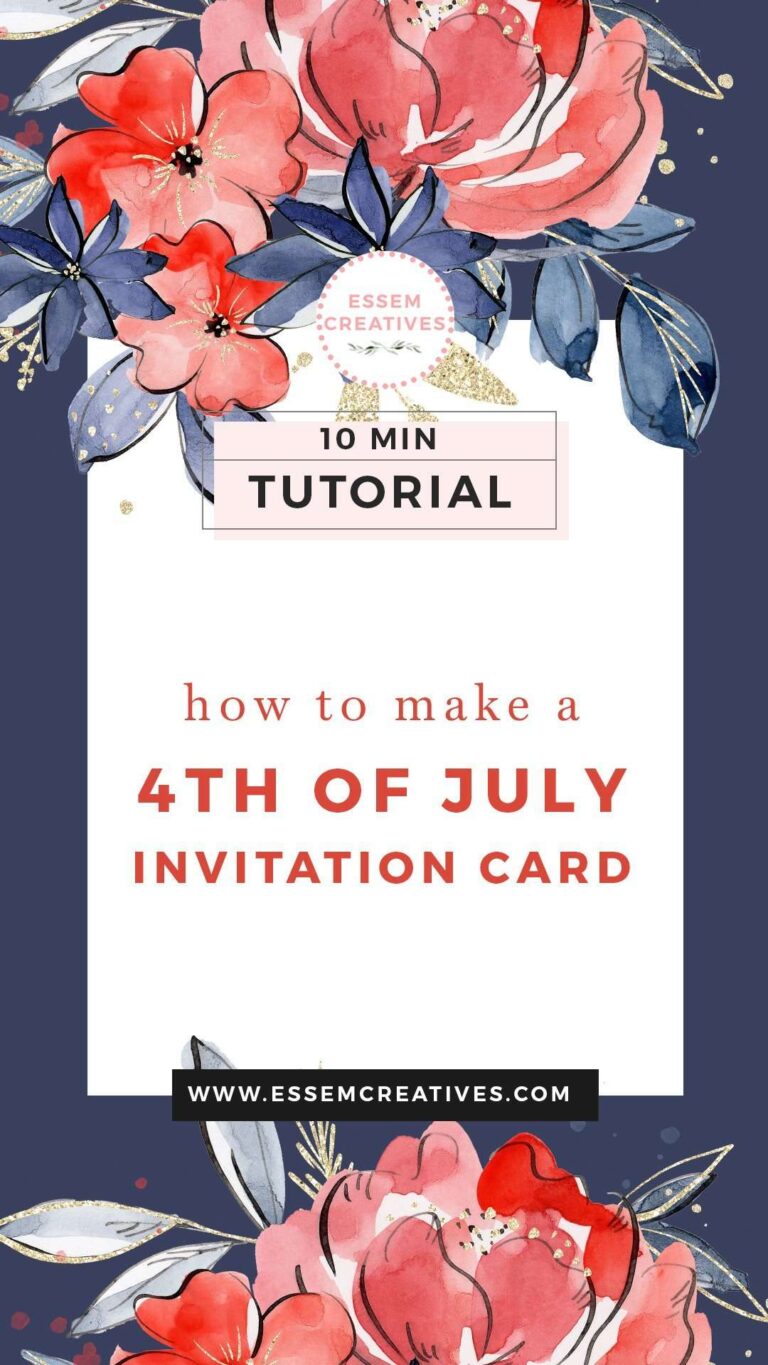
Digital backgrounds are very handy when you want to quickly whip up a design for that last minute greeting card, for a piece of wall art for your home or for putting together a digital scrapbook.
While Photoshop is not necessary to do this, in today’s tutorial I’ll be using Photoshop and taking you through a few basic steps which will have you designing your own printable goods in no time!
What you need for this project:
- A digital background (like this watercolor background)
- Adobe Photoshop (get a free 7 day trial from here)
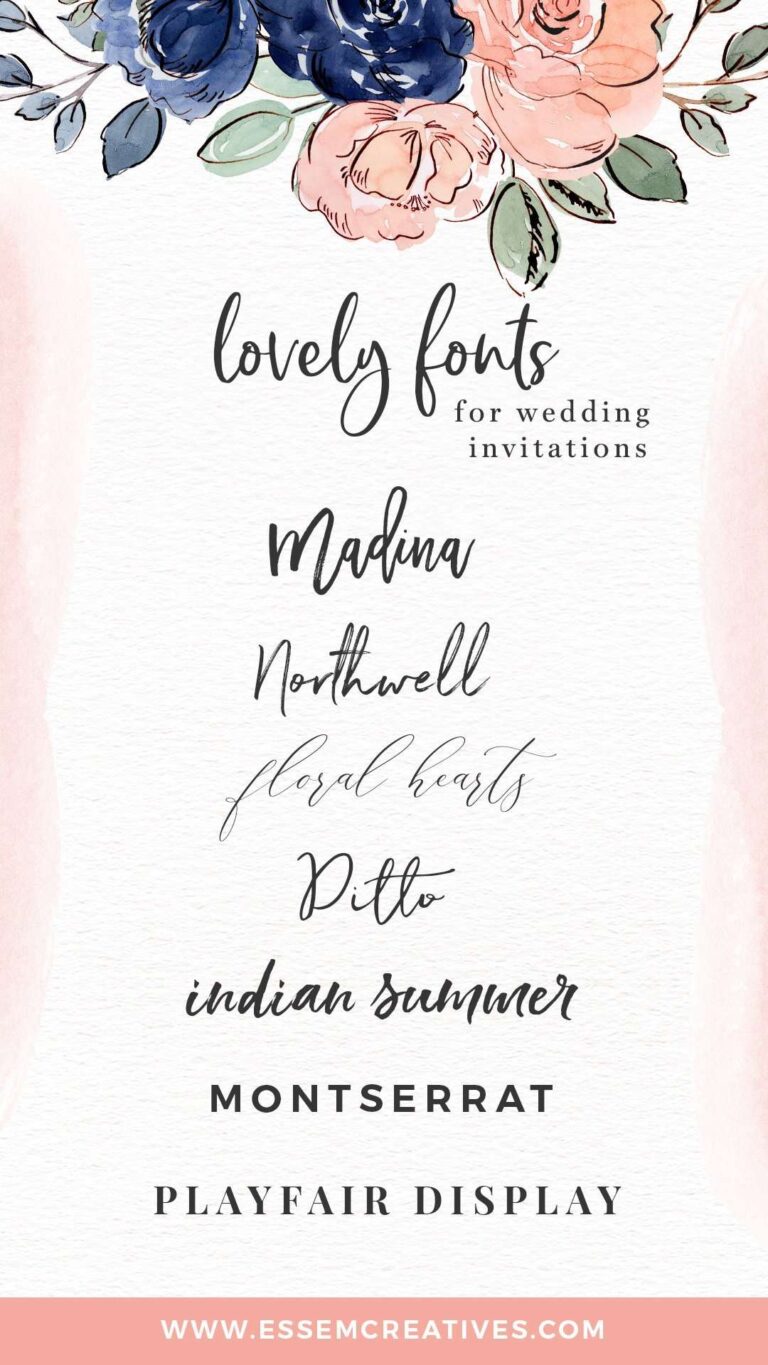
- A font you like (your computer would have many preloaded fonts. If you want to try out a new font, you can head here – https://creativemarket.com/fonts)
Step by Step Tutorial on How to Add Text on a Digital Background on Photoshop
Follow along this video on how to add text on a digital background on Photoshop. Notes on the steps (and a few tips!) are included below the video).
Resources Used in this video:
Step 1: Open Photoshop & Choose your Canvas Size
Launch Photoshop.
Then Go to File –> New
Select the canvas size. You can use inches or pixels. If you are creating printable art, choosing inches may be more convenient for you. I have chosen 5 inches by 7 inches.
Tip: Make sure you set Resolution at 300 (that is optimal for print).
Click Create
Step 2: Add the Background
Now that your canvas is ready, you can simply drag and drop your background into the canvas.
If the background you are using is larger than the canvas, then adjust it to fit the size of the canvas.
Tip: Make sure to hold on to the shift key while re-sizing so that the resized version maintains the original proportions and your background art isn’t distorted.
Tip: It’s better to use a background which is at least as large as your canvas. If it’s smaller than your canvas and you stretch it out, you may not get the best results in print (in terms of quality).
Step 3: Add Text to the Background
Now you will see that the background is your bottom most layer.
Next, hit the “Add New Layer” button at the lower right corner of your Layers Panel. Alternatively, you can go to Layers (on the menu) –> New
Next, select the Text Tool from your tools panel.
Click on your canvas & add your text.
Then format your text (change font style, size, spacing etc.) from the Character Panel.
Tip: If you can’t see your Character Panel (like in the video), then go to Window (menu bar) –> Character. Now your Character Panel will be visible.
Here you can play around for a bit to see which style & layout you like.
Step 4: Save
Once you’ve finalised your text, simply go to File –> Save as
Then choose JPEG as your file type.
Name your file.
Hit Save.
Make sure you select “Maximum” as the quality.
Done!
Pin for later: