Make a Watercolor and Gold Blog Website Header on Canva
Hi friends!
Today I’ll be showing you how to make a simple and pretty watercolor Blog / Website Header on Canva. We will also have gold glitter accents to go with the blush pink watercolor.

We will be using a free online tool – Canva – for this project.
What we need to make our Blog / Website Header:
- Watercolor Graphics
- Your logo as a .png file
- A free Canva account
STEP BY STEP TUTORIAL ON HOW TO MAKE A WEBSITE / BLOG HEADER
Hit play to follow along with the tutorial!
STEP 1: OPEN CANVA
Go to www.canva.com
If you don’t already have an account, Sign Up.
Canva is available for FREE. You don’t have to sign up for the premium (paid) plan to make use of the software.
STEP 2: OPEN A NEW CANVAS
After logging into your Canva account, click on “Create a Design” on the top left corner.
Select “Custom Dimensions”.
Make sure “pixel” i.e. “px” is selected as unit. Then feed in your dimensions in pixels.
To know what dimensions you need, save your current blog header, and check its Properties. It’s dimensions (in pixels) would be mentioned there.
For the purpose of this video tutorial, I will be using a standard website / blog header size of 2732 x 656 pixels – many of my website branding kits have blog headers of this size.
Voila!
You will now have a blank canvas in your custom size.
Perfect for your Blog / Website Header or Banner design!
STEP 3: DRAG AND DROP YOUR WATERCOLOR SPLASHES & GRAPHICS
Next, with Canva open in the background, just drag and drop your Watercolor graphics into Canva.
When you drag and drop, you can see your graphics getting saved in “Uploads” (it shows up on the left hand side).
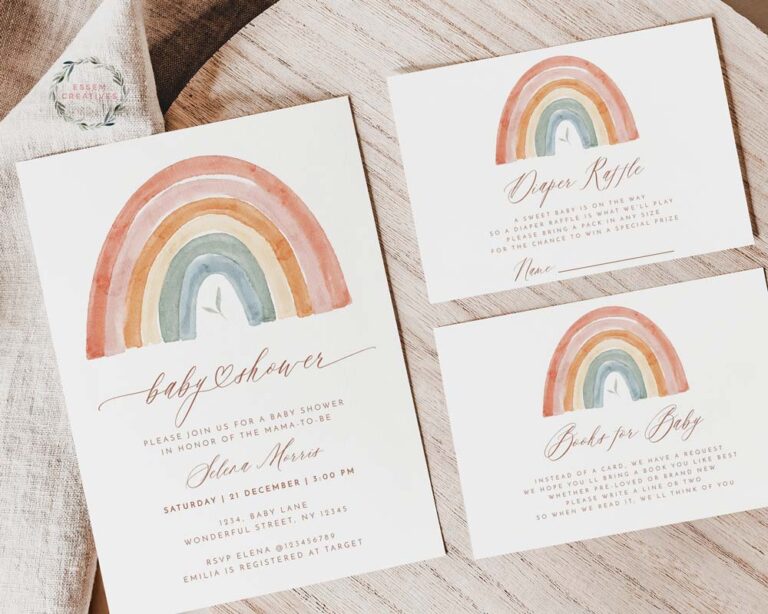
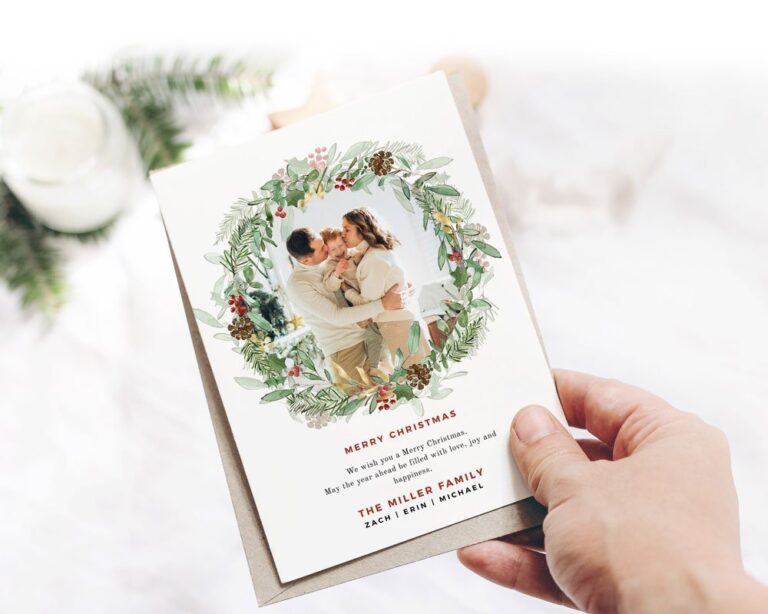
For my website header, I’m using watercolor splashes, gold confetti from this kit & metallic frames from this kit for the accents. They all come with transparent backgrounds and are perfect for creating soft & pretty designs. See here for more watercolor splashes & resources. You could also be bold and use watercolor florals like I have used on my homepage!
STEP 4: ADJUST & ARRANGE YOUR GRAPHICS
Just click each graphic element to make it show up on your canvas.
Adjust the size by dragging at the corners.
Move them around and adjust the design.
To change opacity, use the “Transparency” slider.
Use the “Duplicate” button to make a copy of any element.
Use the “Position” feature to arrange the elements in layers.
Tip: You don’t need to hold down shift key like you would on MS Word or Pages (or even Photoshop). Canva automatically resizes and crops proportionately so your image doesn’t get distorted.
STEP 5: ADD YOUR LOGO
When you are happy with how the edges of your design is looking, it’s time to add your logo.
Make sure your logo is saves as a .png file with transparent background.
Tip: When you move your graphics (or text) around, and Canva shows you a pink vertical line and a pink horizontal line, it means that element is perfect centred. So drop it when those lines shows up (if you want that element centred!)
STEP 6: ADD YOUR TEXT
If you need to add additional text on your design, go to the Text tab on the left, and click on it.
Select a text type.
Add your text.
Adjust the font and formatting (and colors!).
Tip: Use the Spacing bar to increase spacing between the letters for a modern & chic look.
Move it around to place it perfectly where you’d like it to you.
STEP 7: SAVE AND EXPORT FOR WEB USE
Once you’re done creating your design, it’s time to save and export!
Go to the top right corner and click on “Publish”.
Then on “Download” and select “jpg” for a web quality jpg file with small file size which is great for websites.
DONE! YOUR WATERCOLOR WEBSITE / BLOG HEADER IS READY!
I hope you found this tutorial helpful and will be using it to design your website images!
Please leave a comment if you have any questions.
PIN FOR LATER: