Create a Christmas Card with Photo Online for Free
Hi friends!
Today I’ll be showing you how to create a lovely Christmas Photo Card online using a free software called Canva.

If you have MS Word or Pages loaded on your computer, then you can follow this tutorial to learn how to create a Christmas Card on Pages / MS Word in under 10 minutes!
If you don’t have any software at all, or are having computer issues and would like to use an online tool to create your Christmas card, then follow along!
What we need to make our Christmas Card:
- A personal Photo
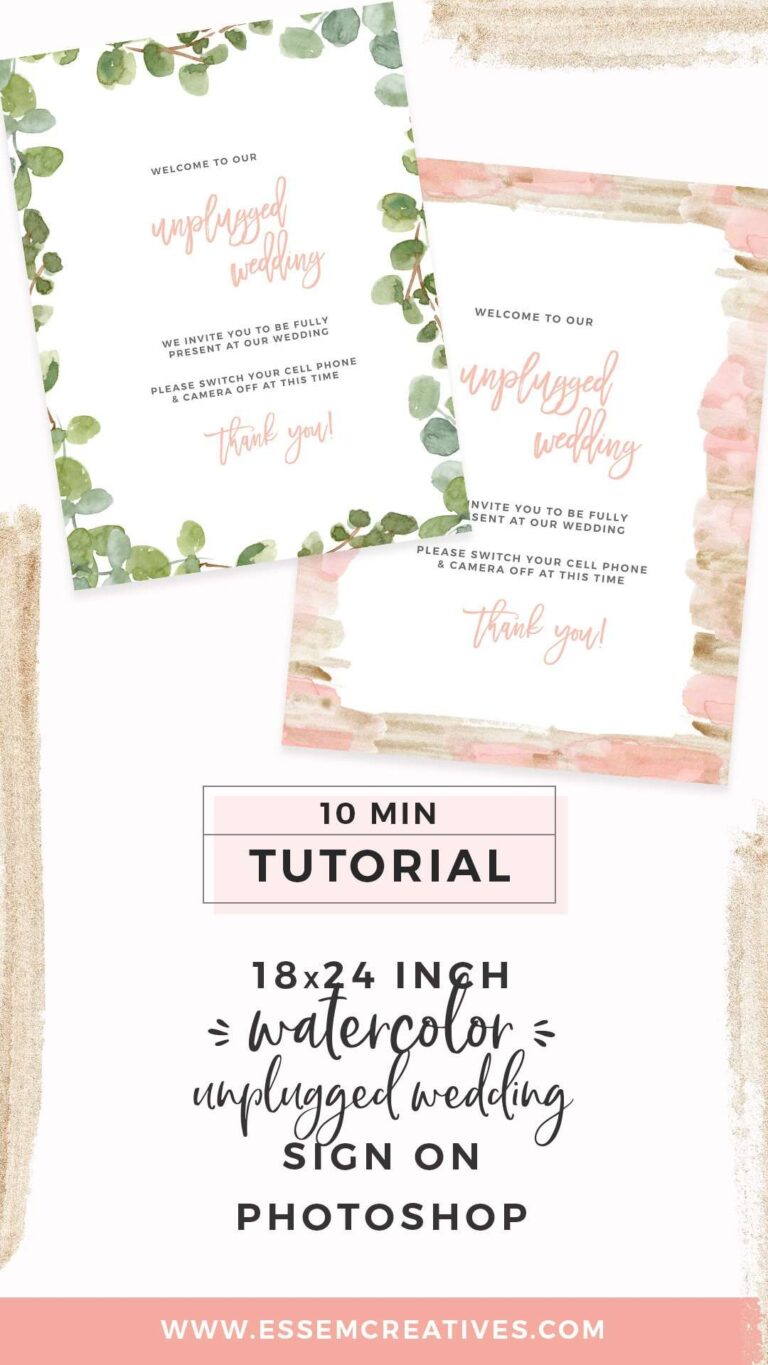
- Christmas graphics (I’m using a pre-made Christmas Card Border from here)
Step by Step Tutorial on How To Make a Christmas Card Online For Free
Follow on with the video below:
Before you hit play!
Read this… I was saying “Hi friends! This is Sneha from Essem Creatives, and today we will make…” (the video cut me off in the beginning ;))
Now hit Play!
Step 1: Open Canva
Go to www.canva.com
If you don’t already have an account, Sign Up.
Canva is available for FREE. You don’t have to sign up for the premium (paid) plan to make use of the software.
Step 2: Open a New Canvas
After logging into your Canva account, click on “Create a Design” on the top left corner.
Select “Custom Dimensions”.
Select “inches” first. Then feed in 5×7.
Voila!
You will now have a blank canvas that is 5×7 inches in size.
Perfect for your Christmas Card design!
Step 3: Drag and drop your Watercolor Christmas Card Border
Next, with Canva open in the background, just drag and drop your Christmas graphics into the Canva.
I’m using a pre-made border, so I just dropped it in, and adjusted the size to fit my canvas.
You can get the Watercolor Christmas Greenery Border from here.
Step 4: Drag and drop your Photo
With your Christmas graphics in the background, just drag and drop your photo into your Canva canvas.
Adjust the size by dragging at the corners.
Drag on the sides to crop to size.
Tip: You don’t need to hold down shift key like you would on MS Word or Pages (or even Photoshop). Canva automatically resizes and crops proportionately so your image doesn’t get distorted.
Make sure to place your photo in the empty space in the Christmas Card Border.
Step 5: Add your text
Go to the Text tab on the left, and click on it.
Select a text type.
Add your text.
Adjust the font and formatting (and colors!).
Tip: Use the Spacing bar to increase spacing between the letters for a modern & chic look.
Move it around to place it perfectly where you’d like it to you.
Tip: When you move your text (or graphics) around, and Canva shows you a pink vertical line, it means that element is perfect centred. So drop it when that line shows up (if you want that element centred!)
Step 5: Save and Export for Print
Once you’re done creating your design, it’s time to save and export!
Go to the top right corner and click on “Publish”.
Then on “Download” and select “PDF Print” for a print quality PDF file.
Please be sure to select this print version otherwise your print might now come out looking sharp! However, for circulating digital greetings, you can opt for the PNG option.
Done! Your Christmas Photo Card is ready!
I hope you found this tutorial helpful and will be using it to design your holiday cards!
Please leave a comment if you have any questions.
Pin for Later: